Showing posts with label class. Show all posts

Saturday, August 6, 2016

eureka springs school of the arts

My first teaching experience at the Eureka Springs School of the Arts (ESSA) was in 2005.  The school had been active for many years, teaching classes in artists studios and now owned a building  outside of Eureka Springs, AR on Hwy 62.  I was asked to include in my class proposal a list of resources ESSA should provide: water, electricity and table space as well as a list of the equipment I would bring: blenders, vats, buckets, beater, press, etc for students to use in my papermaking class.  They had a building and nothing else.

In July 2016, I taught at ESSA for the sixth time.  Each time I am there I notice the improvements and expansions.  I am excited to witness their growth and am proud to have been a tiny part of it.

Eureka Springs School of the Arts main classroom building.
Today, the Eureka Springs School of the Arts has grown to include a jewelry building, a metals  studio, a fibers studio, an administration building, an artist-in-residence studio and a cottage for out-of-town instructors.  A wood studio is planned and fund raising is underway.

The Eureka Springs School of the Arts administration building
next door to the main classroom building.

Groomed paths invite you to stroll the property and enjoy the
beauty of this special place nestled in the Ozark mountains.

Add caption


Sunday, January 13, 2013

fabulous denim & long stitch journals

Fused fabric sandwiches (up-cycled blue jeans, found fabric "batting" and "lining") created soft covers.  Note -- not all fabrics fuse equally.  Testing fabrics for "fusibility" reduces frustration.  Covers were trimmed to size and an reenforcing strip (interior spine) secured and stitching stations marked.  Note -- on dark fabrics, apply masking tape, mark, punch and remove before stitching.


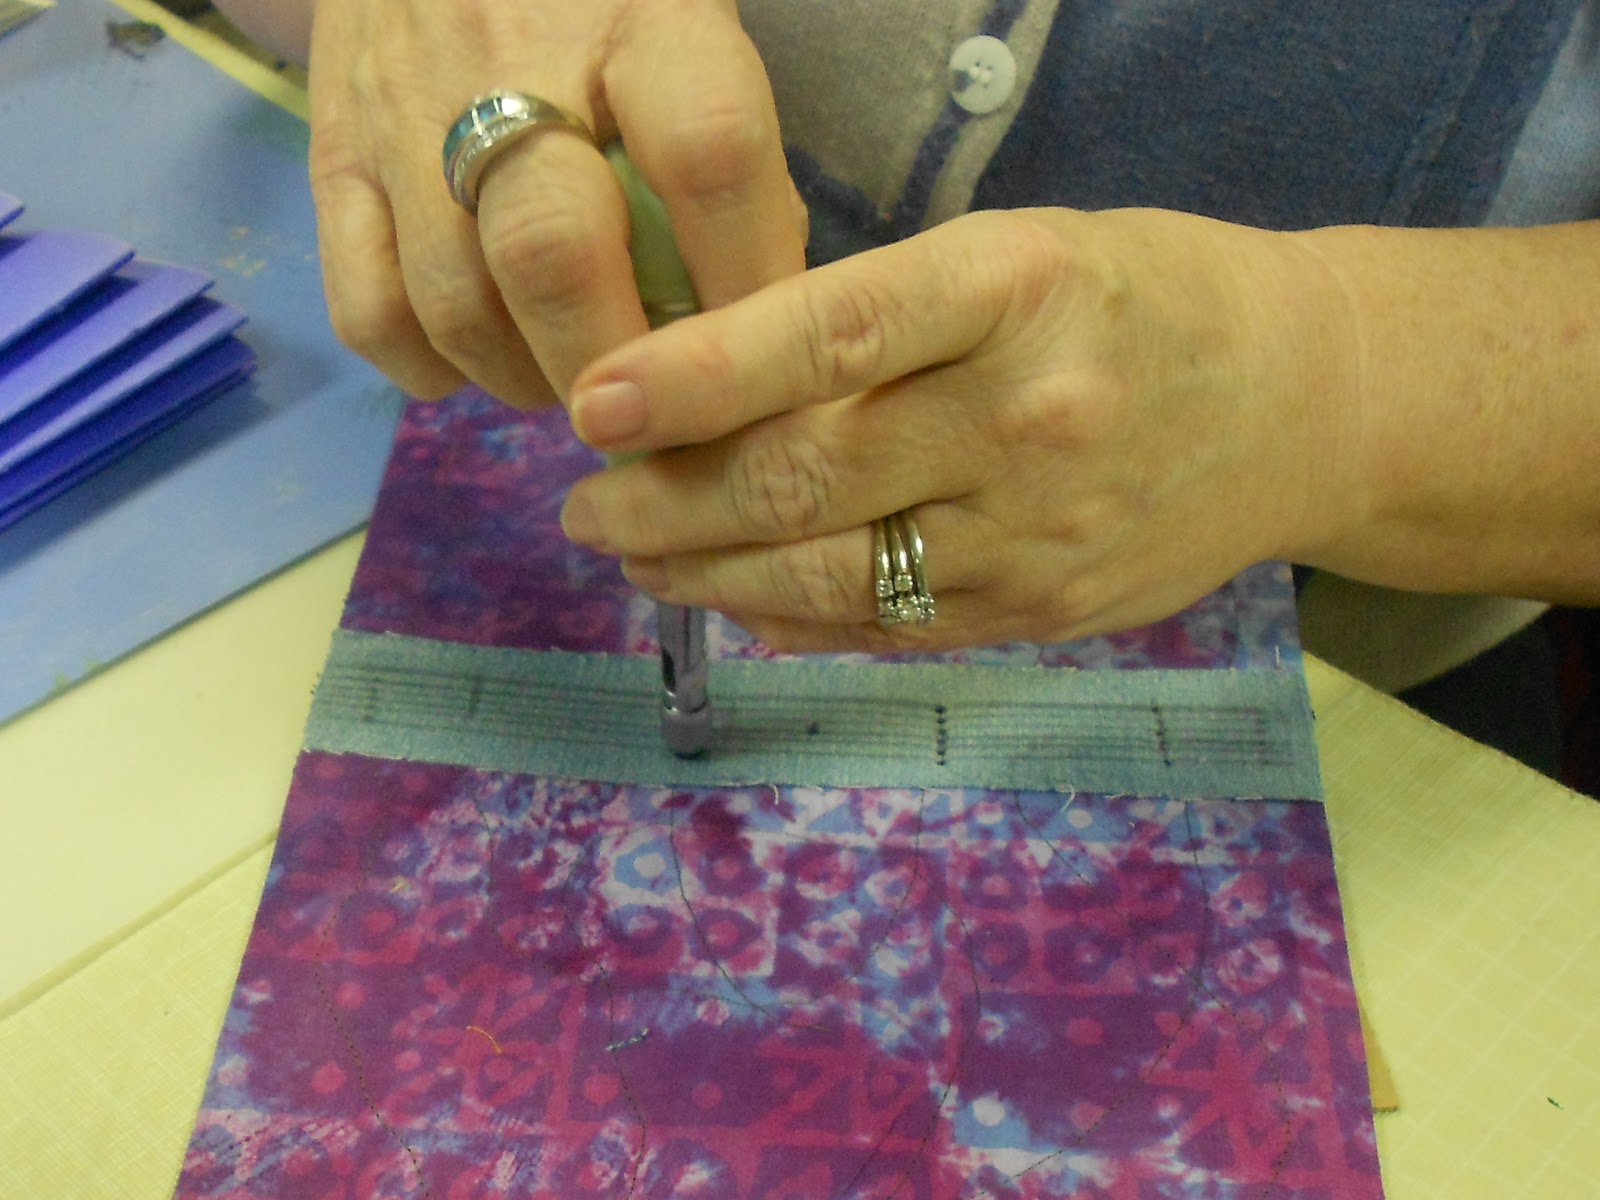
A screw punch or awl created holes through fabric layers at the stitching stations.  Note -- students found the traditional Japanese screw punch made smaller holes, but the design of Martha's "popped/pooped out" fabric divots.

Q:  How much thread is needed to bind the journal?
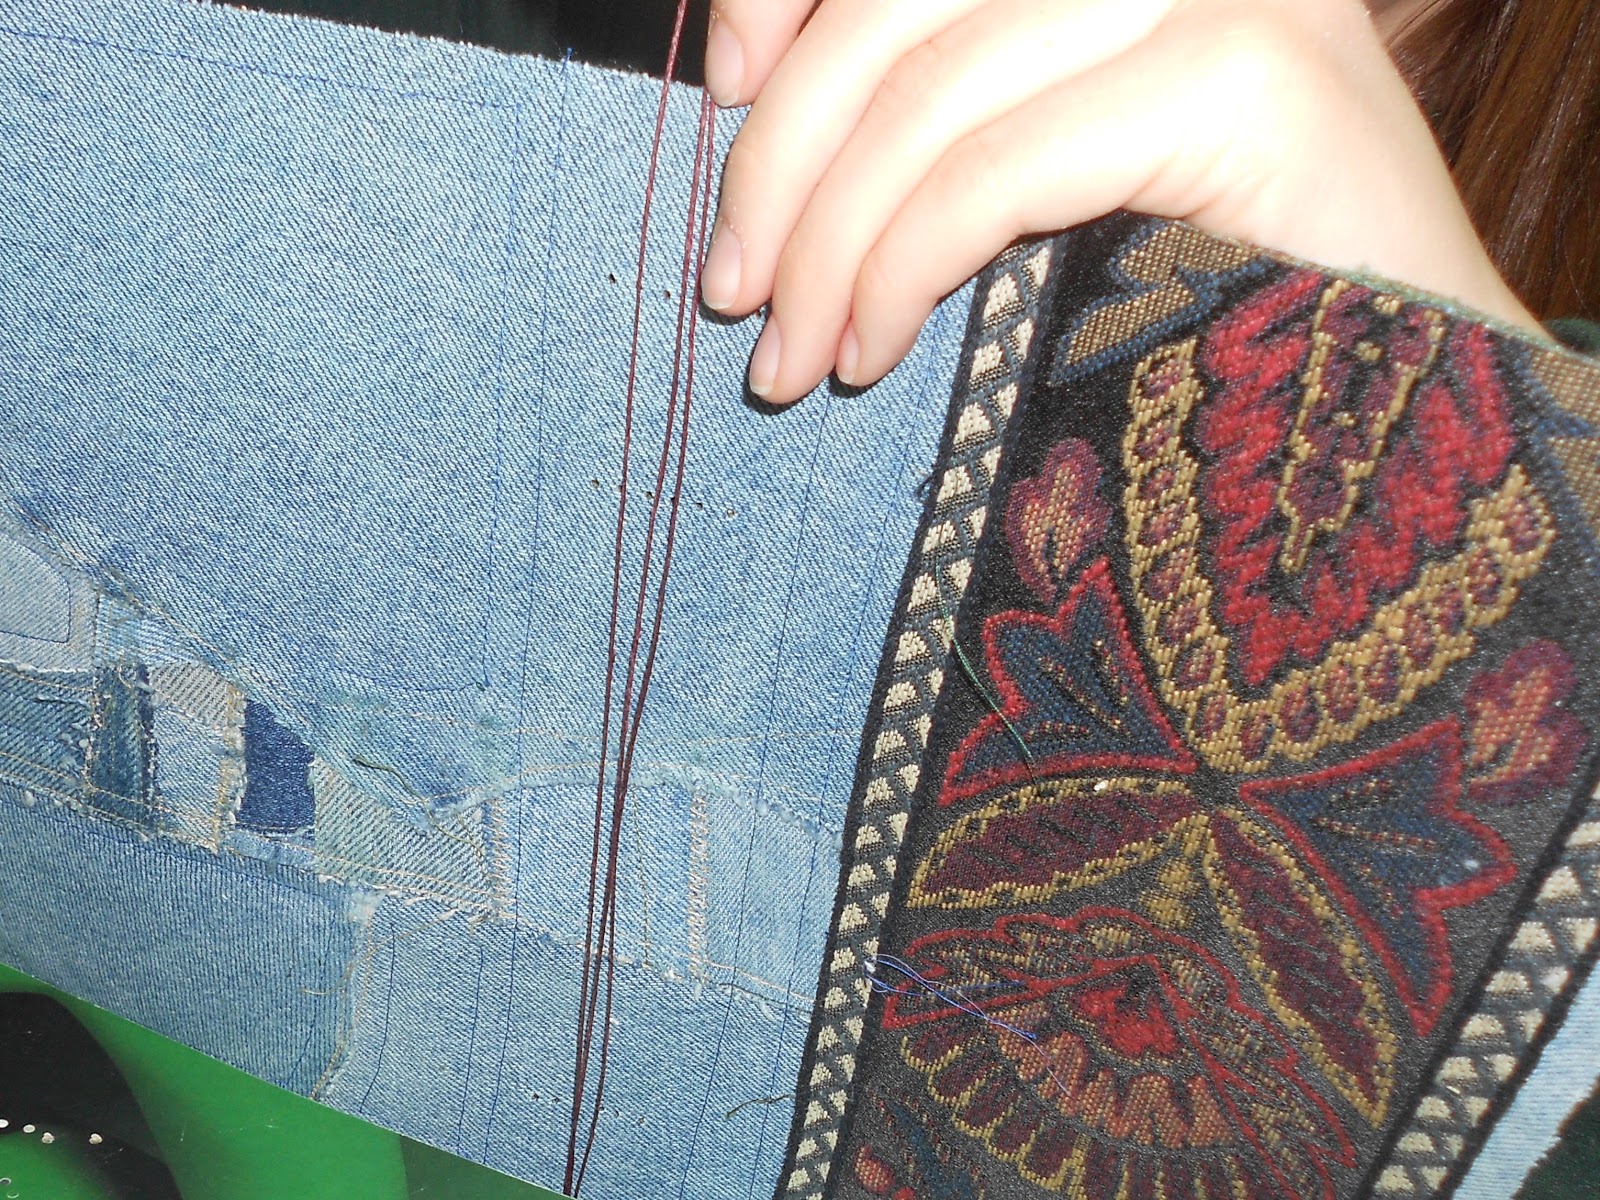
A: Wrap around the spine -- once for each signature + one for good measure.


Each signature is stitched into place.

Right over left and under, left over right and under makes a knot neat, tidy and tight.  (Thanks Cheri:-))

COMPLETED JOURNALS:


Whether  left "blue jeans" plain or embellished, these journals are fabulous.  


Monday, January 7, 2013

denim & long stitch preview

Prototype (workshop sample) for DENIM & LONG STITCH.

Blue jeans, no longer wearable, are deconstructed and the rescued denim pieces are stitched into a rectangle larger than the finished journal cover.  If desired, the front cover (right half) can be embellished.  This workshop sample is embellished with hand embroidery.

Marks (purple fabric marker) radiate from the hand to make the shape "pop".  The plaid flannel (low loft batting could be used) will be sandwiched between the denim cover and cotton (commercial fabric from my stash which has been dyed and stenciled) lining (end pages).  Also shown: folded signatures, waxed linen, tapestry needle and Japanese screw punch. 

Stacked, stitched and trimmed to size, the cover should be made after the book block (signatures are folded and stacked) is made.  A denim strip (marked with stitching stations) gives the spine strength.

A single length of waxed linen binds the signatures to the cover using a "long stitch".  The binding thread is exposed and wraps the head and foot of the cover.

The long stitch binding allows the pages to lie flat for ease in writing or drawing.


DENIM & LONG STITCH    January 12, 2013 Saturday 10-4; 
contact leandra@bearcreekpaperworks to reserve your space.